Getting Started with Trezor.io/Start: The Complete Guide for New Trezor Users
If you’re serious about cryptocurrency security, owning your coins means controlling your private keys. Trezor hardware wallets are among the most trusted devices to keep your assets offline and secure from hacks, malware, and phishing attacks. To begin using a Trezor safely, the first step is to start at Trezor.io/Start. This official portal guides you through every step of setting up your device properly.
This guide explains what Trezor.io/Start is, why it is essential, how to set up your Trezor hardware wallet, and the best practices for securing and managing your cryptocurrency.
What Is Trezor.io/Start?
Trezor.io/Start is the official onboarding portal for Trezor hardware wallets, including models like Trezor One and Trezor Model T. It provides a centralized, secure process to:
Install the Trezor Bridge or Trezor Suite application needed to manage your wallet
Initialize a new Trezor device safely
Generate and back up your recovery seed
Create a PIN for device access
Add cryptocurrency accounts
Learn essential security practices
Access official support resources
Using Trezor.io/Start ensures that you are not exposed to counterfeit devices, fake applications, or malicious instructions that could compromise your funds.
Why Starting at Trezor.io/Start Matters
Security in cryptocurrency is built on trust — not in third-party services, but in your ability to safeguard private keys. Trezor.io/Start ensures that you begin on a secure, verified path by providing:
1. Official Software Downloads
Trezor Suite and Trezor Bridge are the only applications that allow you to interact safely with your Trezor device. Third-party applications may contain malware or steal your private keys. Using the official download from Trezor.io/Start guarantees authenticity.
2. Step-by-Step Device Setup
Setting up a hardware wallet incorrectly can lead to permanent loss of funds. Trezor.io/Start provides instructions to initialize your device, create a PIN, and generate a recovery seed in the safest way possible.
3. Security Best Practices
Trezor.io/Start offers the latest advice on keeping your device and recovery seed secure from phishing attacks, malware, or scams.
4. Centralized Learning and Support
Whether you are restoring an existing wallet or troubleshooting an issue, Trezor.io/Start provides verified guidance and tutorials in one place.
Starting elsewhere or using unverified instructions could result in exposure to scams or loss of funds. Trezor.io/Start ensures a safe, guided experience.
What You Need Before Starting
Before visiting Trezor.io/Start, make sure you have:
A genuine Trezor device (Trezor One or Model T) purchased from an official or authorized reseller
The USB cable included in the box (Trezor Model T may support USB-C)
A computer or smartphone
A stable internet connection
A private space to perform setup
Pen and paper or the included recovery card for your recovery seed
Having these ready ensures the setup process is smooth and secure.
Unboxing and Verifying Your Trezor Device
Before you connect your device, inspect the packaging:
The box should be sealed and untampered
The device should never be pre-configured or show a PIN screen when first powered on
It should come with a recovery seed card (empty) and a USB cable
Do not use the device if packaging seems compromised. A pre-written recovery seed is a red flag, and you should contact official support if anything seems suspicious.
Step-by-Step Setup via Trezor.io/Start
Here is the detailed step-by-step guide for setting up your Trezor device.
1. Go to the Official Setup Page
Open a browser and manually type Trezor.io/Start. Avoid using search results, ads, or third-party links. Bookmark the page for future reference to ensure ongoing security.
2. Download and Install Trezor Suite
Trezor Suite is the desktop or mobile application that allows you to manage your cryptocurrency. It communicates securely with the Trezor device and provides a user-friendly interface to:
Add cryptocurrency accounts
Check balances
Send and receive funds
Update firmware
Interact with supported third-party services safely
Install the correct version for your operating system.
3. Connect Your Trezor Device
Use the USB cable to connect your Trezor device to your computer or phone. Trezor Model T may also allow USB-C connections. Upon connection, your device will display instructions on the screen for the next steps.
4. Initialize Your Device
Choose “Set up as new device” unless you are restoring from an existing recovery seed. The initialization process includes:
Creating a PIN
Generating a recovery seed
Verifying firmware authenticity
5. Create a PIN Code
The PIN is required each time you access your Trezor. It is stored securely on the device and never leaves it. Choose a PIN that is memorable but not easily guessed. Do not write it down or share it with anyone.
6. Generate Your Recovery Seed
The recovery seed (usually 12, 18, or 24 words depending on device) is the master key to your wallet. Anyone with access to this seed can access your cryptocurrency, so it must be protected.
Write the seed down on the provided recovery card or another secure, offline medium
Do not store it digitally (no photos, screenshots, or cloud storage)
Confirm the seed when prompted by the device
Your recovery seed is essential for restoring your wallet if the device is lost, stolen, or damaged.
7. Verify Firmware and Device Authenticity
Trezor devices include a cryptographic check to ensure they are genuine. During setup, the device may prompt you to verify the firmware. Always perform this step to confirm authenticity.
8. Install Cryptocurrency Apps and Add Accounts
Once initialized, use Trezor Suite to add cryptocurrency accounts:
Install blockchain apps required for each coin you want to hold
Add accounts for each asset in Trezor Suite
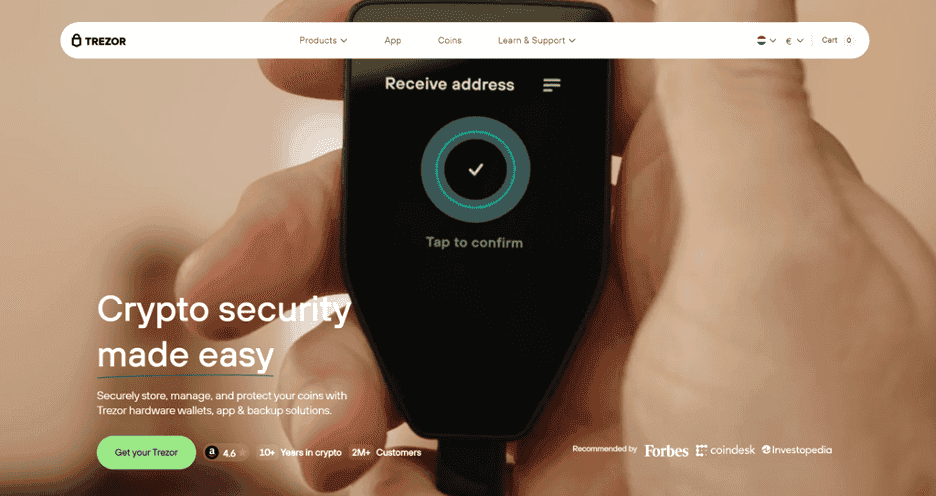
Confirm addresses on the device screen
Accounts and balances are derived from the recovery seed, so uninstalling apps does not affect your funds.
9. Sending and Receiving Cryptocurrency
With accounts added, you can send and receive cryptocurrency safely. Every outgoing transaction must be approved on the physical device. This protects you from malware attempting to redirect funds.
Security Best Practices
Even with a hardware wallet, maintaining security requires careful practices:
Never share your recovery seed — no support agent, website, or app should ask for it
Store the recovery seed offline — use paper, metal, or another secure medium
Confirm transactions on the device screen — never rely solely on the computer interface
Update firmware regularly — firmware updates patch vulnerabilities
Use only the official Trezor Suite application — third-party apps may not be secure
Exercise caution with DeFi or Web3 apps — double-check addresses and permissions
Restoring a Trezor Wallet
If your device is lost, damaged, or stolen:
Obtain a new Trezor device
Choose “Recover wallet” during initialization
Enter your recovery seed directly into the device
Reinstall cryptocurrency apps and accounts in Trezor Suite
With the recovery seed, you retain full access to your funds. Losing the recovery seed without the device results in permanent loss of assets.
Everyday Best Practices
Only connect your Trezor to trusted computers and networks
Keep the device firmware up to date
Conduct a small test transaction before transferring large amounts
Consider a metal backup for long-term protection of the recovery seed
Be mindful of phishing attempts and suspicious links
Conclusion
Trezor.io/Start is the official, safe starting point for Trezor hardware wallet users. By following the official process — initializing the device, setting a PIN, securing the recovery seed, installing apps, and managing accounts — you ensure maximum security for your cryptocurrency.
Hardware wallets like Trezor give you control over your digital assets, but security remains a continuous practice. Treat your recovery seed like your most valuable asset, confirm transactions on your device, and only use official software. Starting with Trezor.io/Start ensures a safe, straightforward path to managing cryptocurrency with confidence.